I found out three weeks ago that my oil separator hoses were dead. The hose has to be firm and if pressed, it has to return to its previous shape immediately. Which was not happenning with the originals. The parts arrived two weeks ago, so we went for the job.
The task is not that complicated, however the set for oil fog processing contains several parts:
- 2x oil separator
- 2x upper hoses
- 2x lower hoses
- 2x rubber plug for intake housing
- 4x clips
Because there is no way to change the lower hoses without taking off the thermostat, for which I have neither proper equipment or courage, I decided only to change the upper parts and separators. It’s not complicated, though can be quite fun because of limited space and a need to place all parts in proper positions. The DIY is quite simple then:
- Disconnect both MAF sensors.
- Loosen the clips for the intake tubes.
- Remove the airbox clips.
- Take off both tubes (including airbox cover) and don’t forget to remove the cable from the plastic holders.
- Loosen all four clip screws on both separators.
- Take off the upper hoses and be careful not to lose those loosen rings.
- Find and retreive the fallen ring(s) from the engine bay :).
- Loosen the 10mm bolt holding each separator.
- Twiste and wiggle each separator out of the intake housing. Including the rubber plugs/sleeves.
Once everything is out, it may be a good idea to clean everything around. The install is then the opposite procedure.
- Install the rubber plug on the separator intake outlet.
- Plug the lower part of separator into the lower hose (small). Tighten lightly the ring to keep the hose in place.
- Plug the separator into the intake housing and make sure it’s plugged all the way. Some pressure and small wiggling needed.
- Install and tighten the 10mm bolt holding the separator body.
- Install the hoses and tighten the rings (don’t forget to tighten also the lower hoses if you didn’t do it before).
- Install the intake tubes and place the MAF cable into the holders. Secure the clips on the airbox. Tighten all rings.
- Reconnect MAF sensors.
Done.
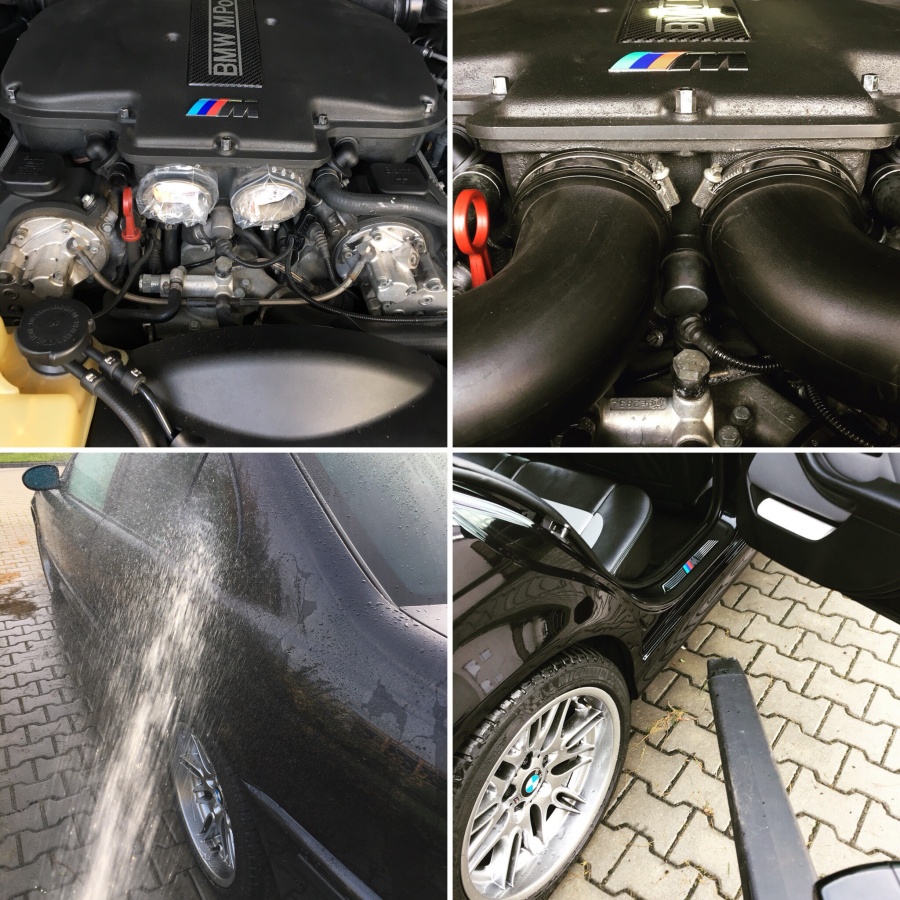
And because it’s already November, the time has come to move the car into a winter storage mode. I don’t expect weather to get any better and I also need to limit the kilometers, ha! So once I was done with the engine works, I went through the washing and cleaning procedure.
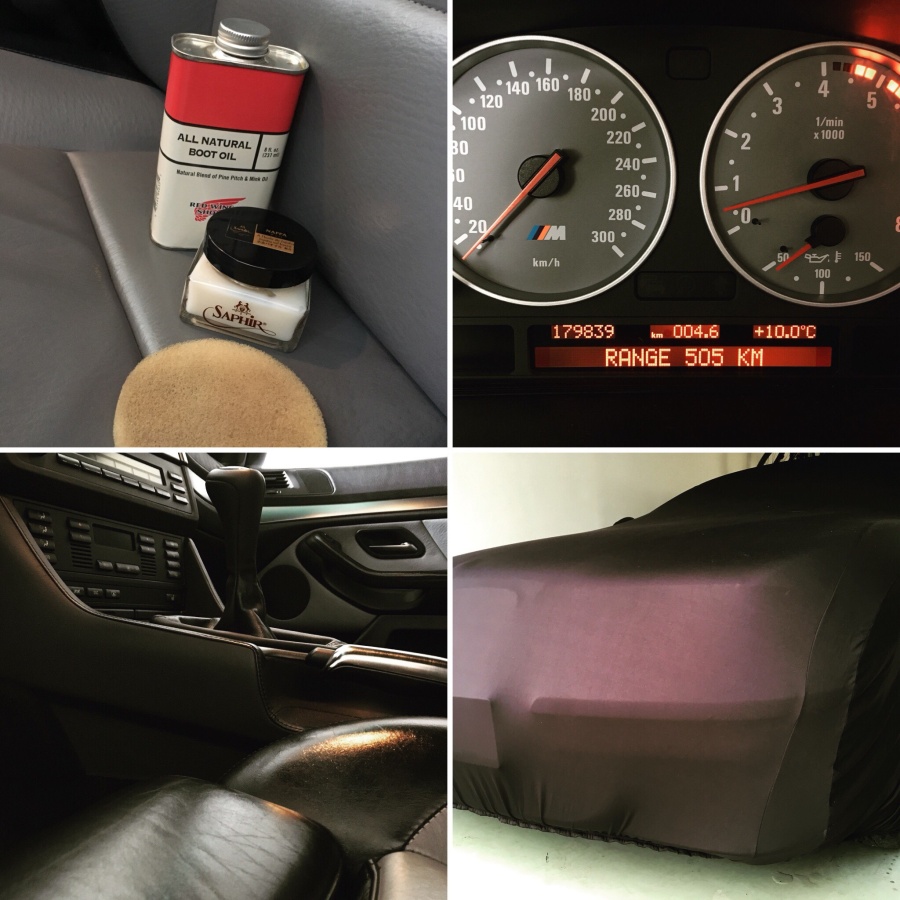
For the interior, I have yet again used my favorite combination of products. The leather conditioner (Saphir) for grey surfaces and heavy-duty protective and conditioning leather oil (Red Wing Boot Oil) for the rest. This mixture has worked for me quite well – the interior looks still as good as new.
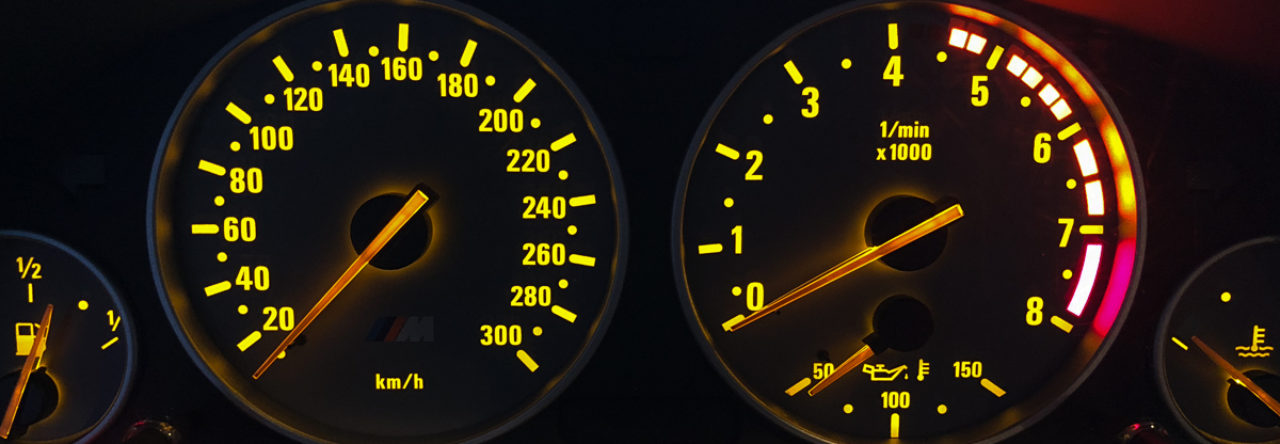
And then – the last engine start and garage storage. Before placing the cover, I have switched off the US DRL because my LCM gave me several high beams errors in last month. It may not be related, we will see.
During the winter, the trickle charger will take care of the battery and I will be looking forward to the spring 2018. Can’t wait.
Leave a Reply